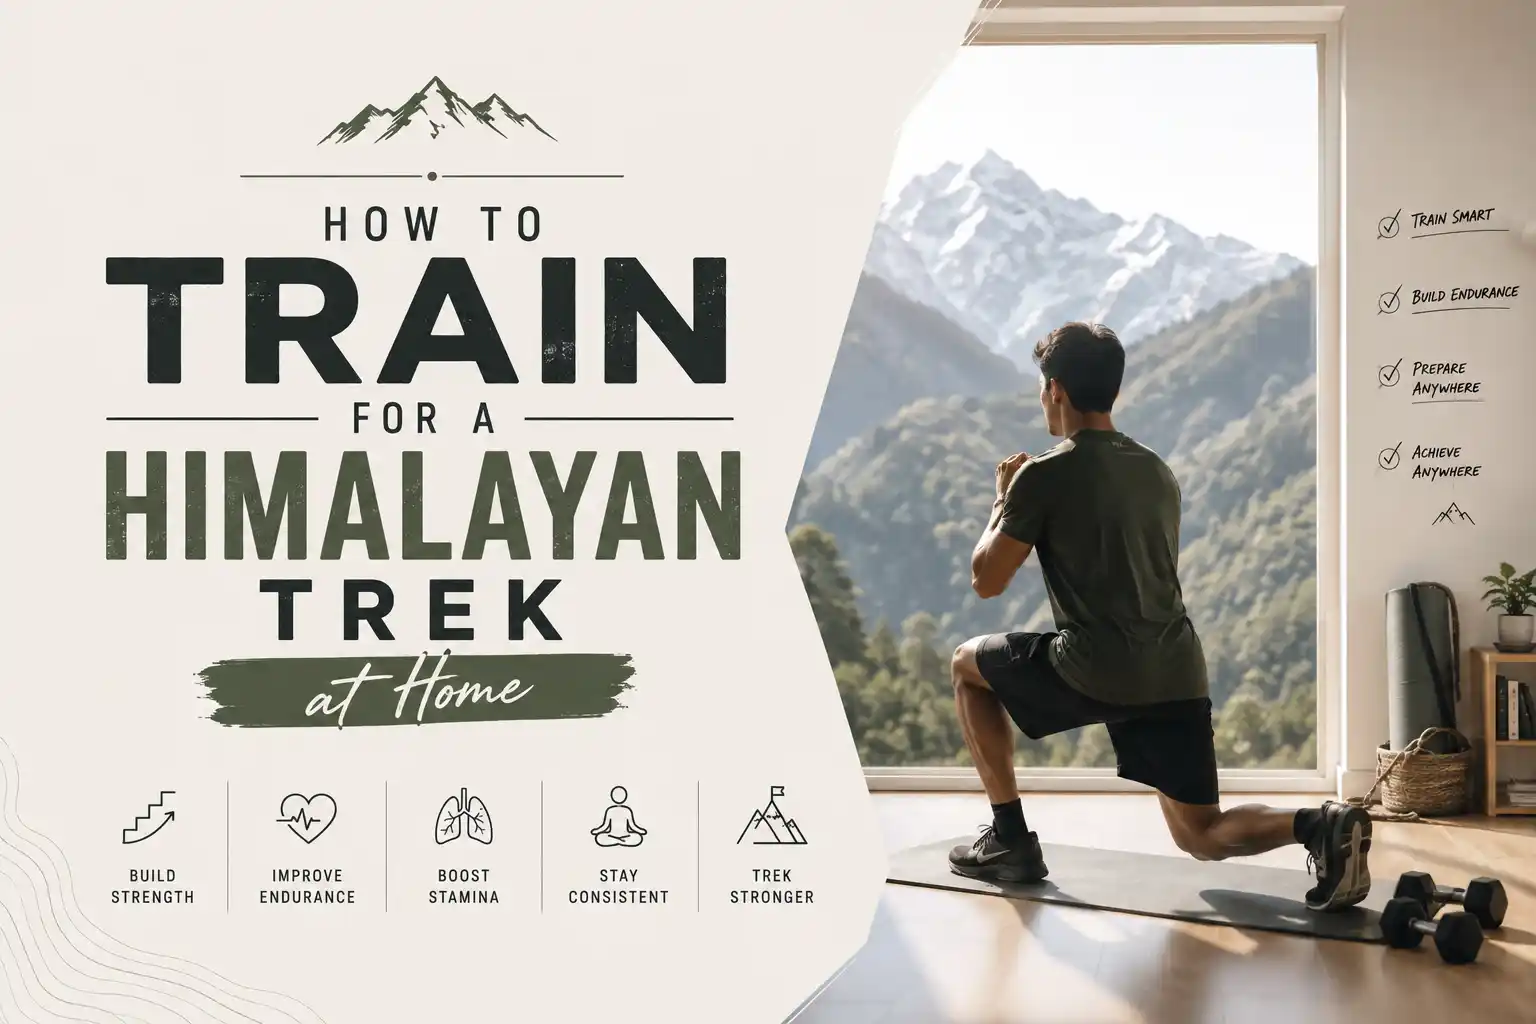
How to Train for a Himalayan Trek at Home
Wondering how to train for a Himalayan trek at home without joining a gym or buying expensive equipment? The good news is that you don’t need either. What you need is a body that can walk for several hours, climb continuously, handle uneven terrain and recover well enough to do it all again the next day.
A Himalayan trek is very different from your usual walk around the neighbourhood. Treks such as Pangarchulla, Roopkund, Bali Pass and Hampta Pass can involve steep climbs, long walking days, rocky trails and high altitude.
You don’t need to become an athlete before your trek.
You simply need to prepare your body for the kind of work it is going to do.
How to Train for a Himalayan Trek at Home: Start With Walking
It sounds almost too obvious, but walking should be the foundation of your Himalayan trek training.
After all, walking is what you’ll be doing for most of your trip.
If you’re currently inactive, start with 30–45 minute walks at a comfortable pace. As your fitness improves, increase the duration and eventually add some faster walking or inclines.
If you live somewhere flat, that’s completely fine.
You can still train effectively with:
- Brisk walking
- Longer weekend walks
- Incline treadmill walking
- Stair climbing
- Walking with a backpack
Don’t worry about covering huge distances immediately.
A person who walks consistently for eight weeks will usually be much better prepared than someone who does one massive workout every Sunday and spends the rest of the week doing nothing.
Consistency beats intensity.
Himalayan Trek Training at Home With Stairs
Not everyone has a mountain outside their house.
Fortunately, you may already have one of the best trekking-training tools available: stairs.
Stair climbing works your quads, calves and glutes while also challenging your cardiovascular system. It is particularly useful for preparing your body for the repeated uphill movement you’ll experience on a Himalayan trail.
Start with around 10–15 minutes.
As your fitness improves, gradually increase the duration or number of rounds.
Don’t turn every session into a race.
The objective of trek training at home is to teach your body to keep working steadily, because Himalayan trekking is usually about maintaining a sustainable pace rather than sprinting uphill.
Build Leg Strength Before Your Himalayan Trek
Good endurance will help you keep walking, but strong legs make the walking considerably easier.
You don’t need a gym for this part of your Himalayan trek preparation.
Basic bodyweight exercises can give you a strong foundation.
Squats
Squats strengthen your thighs and glutes, which are heavily involved in uphill movement.
Lunges
Lunges work one leg at a time and can help improve both strength and balance.
Step-Ups
Step-ups are particularly useful for trekkers because the movement closely resembles stepping onto higher sections of a trail.
Calf Raises
Your calves work continuously while climbing and descending, so strengthening them is worth including in your routine.
Glute Bridges
Glute bridges strengthen the muscles around your hips and can complement your squats and lunges.
Start with bodyweight exercises. Once they become comfortable, you can gradually add resistance.
Train for the Downhill Too
Most people preparing for a trek spend their time thinking about the climb.
Then they discover that the descent can be just as tiring.
After several hours of uphill walking, your legs are already fatigued. A long downhill section can put considerable strain on tired muscles and requires constant control with every step.
That’s why a good Himalayan trek training plan shouldn’t focus only on climbing.
Include controlled step-downs, lunges and squats in your workouts. If you train on stairs, practise going down as well as up.
Remember:
The summit isn’t the end of the trek.
You still have to come back down.
Improve Your Cardio for Himalayan Trekking
You don’t have to become a marathon runner to prepare for a Himalayan trek.
Trekking is more about maintaining a steady effort for a long period than running at maximum speed for a short distance.
Choose a form of cardio you can actually enjoy and maintain:
- Brisk walking
- Cycling
- Jogging
- Swimming
- Stair climbing
- Skipping
Try to include cardio several times a week.
As your fitness improves, you should notice that you can exercise for longer without becoming completely breathless and that your recovery becomes quicker.
That’s exactly what you want from your trekking fitness training.
How to Train With a Backpack at Home
Walking without a backpack and walking with one for five or six hours are two very different experiences.
Even on a supported Himalayan trek, you’ll probably carry essentials such as water, snacks, a jacket and personal belongings.
Once regular walking feels comfortable, start introducing a light backpack.
Don’t immediately fill it with everything you own.
Begin with a small amount of weight and gradually increase it as your body adapts.
This gives your shoulders, back, hips and legs time to become accustomed to carrying a load.
It also gives you an opportunity to adjust your backpack before the actual trek.
A small problem with the fit is much easier to fix at home than halfway up a mountain.
Don’t Forget Core Training
Your core does much more than give you visible abs.
A strong core helps you remain stable when you’re walking over rocks, uneven ground and steep sections while carrying a backpack.
A simple home routine can include:
- Planks
- Side planks
- Bird dogs
- Dead bugs
- Glute bridges
You don’t need hundreds of repetitions.
A few controlled sets performed consistently are enough to make your core stronger over time.
A Simple 6–8 Week Himalayan Trek Training Plan
If you’re wondering how to train for a Himalayan trek at home, having a simple weekly routine is more useful than randomly doing different workouts every day.
Here’s a practical starting point:
| Day | Training |
|---|---|
| Monday | Brisk walk + strength training |
| Tuesday | Stairs or incline walking |
| Wednesday | Rest + mobility |
| Thursday | Cardio + strength training |
| Friday | Easy walk |
| Saturday | Long walk + backpack |
| Sunday | Rest |
You can adjust the duration and intensity according to your current fitness.
As your trek approaches, gradually make your Saturday session longer.
If you have access to hills, use them.
If you don’t, stairs and incline walking can still provide useful preparation.
Your Long Walk Is the Most Important Part of Trek Training
If there’s one workout you shouldn’t consistently skip, it’s your longer weekly walk.
Start with whatever distance feels manageable.
Then increase it gradually.
The goal isn’t to hit an arbitrary number of kilometres. Instead, you’re teaching your body to remain active for several hours without completely running out of energy.
As the trek gets closer, introduce a backpack during some of these longer sessions.
This is also where you’ll discover practical problems.
Maybe your shoes rub your heels.
Maybe your backpack doesn’t sit correctly.
Maybe you aren’t eating enough during long walks.
It’s far better to discover these things during Himalayan trek training at home than on the actual trail.
Can You Prepare for High Altitude at Home?
This is an important distinction.
You can improve your fitness at home, but you cannot completely recreate Himalayan altitude in your living room.
At high altitude, atmospheric pressure decreases and less oxygen is available with each breath. Your body needs time to adjust to those conditions through a process known as acclimatization.
That means running more kilometres or doing more stairs doesn’t make you immune to altitude sickness.
Fitness and acclimatization are different things.
This is particularly important when preparing for high-altitude routes such as Pangarchulla, Roopkund and Bali Pass.
You can prepare your muscles and cardiovascular system at home.
Your body still has to acclimatize once you reach the mountains.
How to Train for a Himalayan Trek During the Final Weeks
Your training should gradually become more specific as the trek gets closer.
Weeks 1–2: Build Your Base
Focus on regular walking, basic strength exercises and moderate cardio.
Don’t worry about pushing yourself too hard.
The priority is building a routine.
Weeks 3–5: Increase the Workload
Start walking for longer.
Add more stairs or incline work and gradually introduce backpack training.
Your strength sessions can also become slightly more challenging.
Weeks 6–8: Make It Trek-Specific
Longer walks should now become a regular part of your routine.
Add elevation whenever possible and practise walking with your backpack.
During the final few days, reduce your training and focus on recovery.
You want to arrive at the mountains feeling fresh.
Not sore.
Not exhausted.
And definitely not injured.
Common Mistakes During Himalayan Trek Training
One of the biggest mistakes is trying to do everything at once.
Someone realises their trek is six weeks away and suddenly starts running every morning, climbing hundreds of stairs and doing intense leg workouts every evening.
That’s not preparation.
That’s a fast route to being exhausted or injured.
Another common mistake is training only the legs.
Trekking involves your entire body, especially when you’re carrying a backpack.
And finally, don’t treat rest as wasted time.
Your body needs recovery to adapt to training.
More exercise isn’t automatically better preparation.
What Should You Eat While Training?
You don’t need a complicated diet while preparing for your trek.
Focus on eating enough nutritious food to support your training.
Try to include:
- Protein for muscle recovery
- Carbohydrates for energy
- Healthy fats
- Fruits and vegetables
- Plenty of fluids
You also don’t need to completely change your diet overnight.
A simple routine that you can maintain for several weeks is much more useful than an extreme diet that lasts for four days.
Can You Train for a Himalayan Trek Without a Gym?
Absolutely.
You can build a surprisingly strong base with nothing more than a pair of walking shoes, a staircase, a backpack and some floor space.
The goal of how to train for a Himalayan trek at home isn’t to recreate the mountains perfectly.
That’s impossible.
The goal is to prepare your body for the workload.
Walk regularly.
Build your leg strength.
Improve your cardiovascular endurance.
Train with a gradually increasing backpack.
And give yourself enough time to recover.
Once you reach the mountains, acclimatization and the trail itself will take care of the rest.
Final Thoughts
The best approach to how to train for a Himalayan trek at home isn’t to chase an extreme fitness goal.
Instead, ask yourself a simpler question:
Can my body comfortably handle the trek I’ve chosen?
Pangarchulla demands more preparation than an easy weekend trek. Bali Pass requires considerably more endurance and experience. A shorter beginner trek may need much less.
Your training should match the mountain.
Start with your current fitness level and build gradually. Six to eight weeks of consistent walking, strength training, stair climbing and longer weekend sessions can make a significant difference.
And when you finally reach the trailhead, backpack on and mountains in front of you, you’ll realise something important.
You didn’t need to become an athlete.
You just needed to be prepared.
Train at home. Build slowly. Respect the mountain. Then enjoy the climb.
All set and ready to book your spot? Contact us!
Follow us on Instagram for Regular Updates!

Recent Posts

Is Gulabi Kantha Trek Worth It? An Honest Guide for 2026


Is Kedarkantha Difficult for Beginners? An Honest 2026 Guide
Quick booking process
+91 9557062166